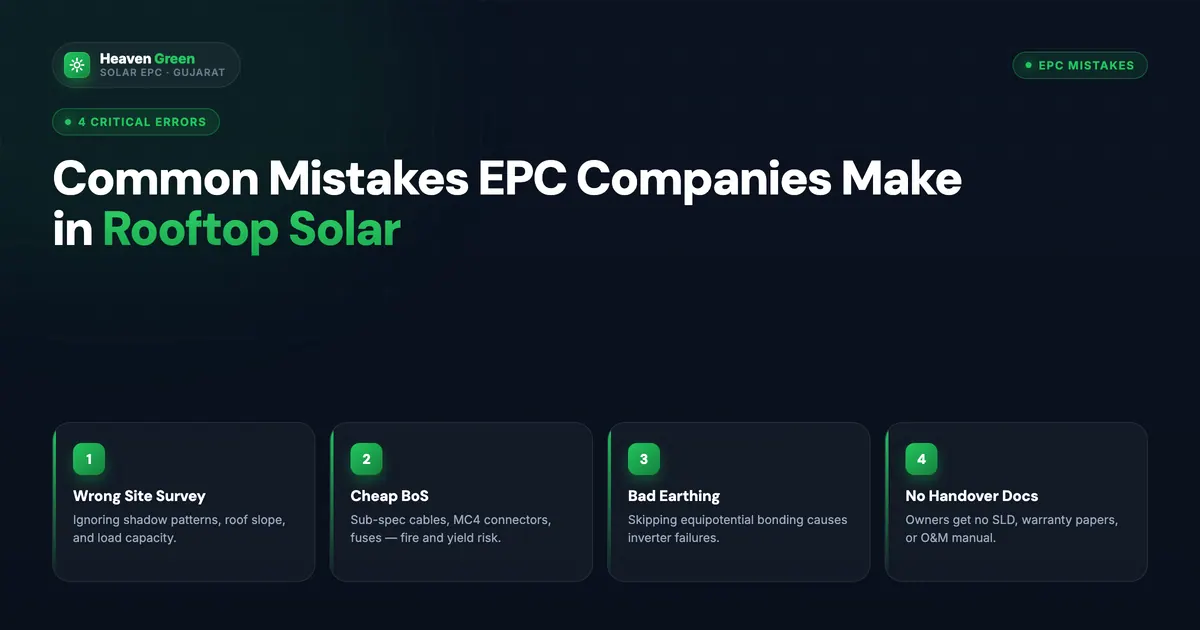
Common Mistakes EPC Companies Make While Designing and Installing Rooftop Solar Power Plants
Good solar design is not just about panel wattage or inverter brand. It is about proper inspection, correct sizing, professional engineering, and long-term planning. Yet many EPC companies cut corners at critical stages, costing their clients years of lost generation.
This guide walks through seven key stages in rooftop solar installation where errors commonly occur — and the correct approach at each step.
1. Site Inspection
Common Mistakes
- Skipping shadow analysis or conducting only a superficial assessment
- Checking shadows only at noon instead of throughout the day
- Ignoring seasonal shadow variations and future construction risks nearby
Correct Approach
Proper site inspection means measuring sunlight availability from 9 AM to 4 PM and ensuring the terrace is shadow-free throughout the year. Use 3D pre-design services to model the sun’s path across all seasons. This eliminates generation concerns for the next 25 years before a single panel is installed.
2. Plant Size Selection
Common Mistakes
- Undersizing the system based on current budget rather than actual energy needs
- Matching capacity exactly to current consumption without planning for the future
- Oversizing beyond utility limits, creating grid compliance issues
Correct Approach
Analyze 12 months of electricity bills, identify peak consumption, and plan for future additions such as electric vehicles and air conditioning. The recommended approach is to size the system 20–25% more than your average requirement while staying within utility guidelines.
3. Panel and Inverter Selection
Common Mistakes
- Using bifacial panels on roofs that are unsuitable for rear-side irradiance
- Choosing components with inadequate warranty coverage
- Installing undersized inverters that cap the system’s output
Correct Approach
Select solar panels with a 12-year product warranty and a 25–30 year performance warranty. Choose inverters with at least a 12-year warranty. AI smart inverters provide enhanced monitoring and alerts, helping catch performance issues early.
4. Panel Placement
Common Mistakes
- Installing panels in partially shaded areas
- Incorrect directional orientation or tilt angles
- Insufficient inter-row spacing causing self-shading losses
Correct Approach
Position panels in shadow-free or minimum-shadow zones with an azimuth angle close to 180° (true south). A 3D design service identifies optimal placement for 25 years of reliable generation across all seasons.
5. Structure Selection
Common Mistakes
- Using low-grade structural materials with inadequate galvanization
- Welded structures without proper coating protection against corrosion
- Designs that do not account for local wind loads
Correct Approach
Use hot-dip galvanized structures with a minimum 80-micron coating. Prefer bolted structures over welding for superior durability, easier maintenance access, and better long-term corrosion resistance.
6. Cable Sizing and Conduit Routing
Common Mistakes
- Undersizing cables to reduce upfront costs
- Running positive and negative DC wires together in the same conduit
- Routing too many wires through a single conduit, causing overheating
Correct Approach
Size cables appropriately (for example, 4 sq mm DC cable for standard strings). Separate positive and negative conductors into different conduits. Calculate voltage drop over the entire cable run and use UV-resistant materials for outdoor sections.
7. Earthing
Common Mistakes
- Using a single earthing system for the entire installation
- Inadequate electrode quality or failure to test resistance after installation
Correct Approach
Implement three separate earthing systems:
- DC earthing — for the solar array and DCDB
- AC earthing — for the inverter and ACDB
- Lightning protection earthing — with proper down conductors
Use quality copper or GI electrodes and verify resistance with regular testing.
Key Takeaways
| Stage | Most Common Error | Correct Standard |
|---|---|---|
| Site Inspection | Noon-only shadow check | Full day + seasonal 3D analysis |
| Plant Sizing | Current-consumption match | +20–25% headroom |
| Equipment Selection | Short warranties | 12-yr inverter, 25-yr panel |
| Panel Placement | Partial shade zones | South-facing, shadow-free |
| Structure | Low-grade materials | 80-micron hot-dip galvanized |
| Cabling | Undersized + mixed conduits | Correct sizing, separated DC runs |
| Earthing | Single combined system | Three separate earthing systems |
A professionally designed rooftop solar plant protects your investment for 25+ years. Cutting corners at the design stage is not saving money — it is transferring losses from the EPC to the client.
Get a Professional Rooftop Solar Design
Heaven Green Energy specializes in end-to-end rooftop solar design and installation, including 3D pre-design services, quality component supply, and long-term maintenance support. We ensure every project avoids the mistakes above so your system delivers on its promised returns for decades.
Call us today: +91 63904 05060